Losing your passport can feel like your worst nightmare coming true, especially when you’re far from home. But don’t panic. It’s not the end of the world and you’re not alone. There’s a well-trodden path to replacing your lost passport quickly.
In this article, we’ll guide you through 11 straightforward steps to get your travel documents back in order. Whether you’re at home preparing for a trip, or already abroad, these steps will help you navigate the process with less stress. Let’s get started.
Step 1: Report the Lost Passport
Right off the bat, it’s vital that reporting your lost passport becomes your absolute priority. This isn’t just about paving the way to getting a replacement; it’s about protecting yourself against potential identity theft. A passport mishandled by someone else can potentially lead to serious fraudulent activities in your name. So, act swiftly!
Start by contacting the nearest U.S. Embassy or Consulate if you’re abroad. They’re your first line of defense and will guide you through the rest of the process. You can find the list of U.S. Embassies and Consulates on the U.S. Department of State’s website. Should you be within the confines of the United States when the loss occurs, report it to the U.S. Department of State.
To report a lost passport, you’ll need to submit Form DS-64. You can do this online, by mail, or in person. While the online method is the quickest, decide on the one that’s most convenient for you. In the Form DS-64, provide detailed information about how, when, and where the passport was lost. Be as precise and candid as you can. This will help the authorities to invalidate your passport efficiently and prevent misuse.
Remember:
- Report your lost passport immediately to the nearest U.S. Embassy or Consulate if abroad.
- If you’re in the U.S., report it to the U.S. Department of State.
- Use Form DS-64 to report the loss, available online, by mail, or in person.
Understandably, losing your passport can bring you a lot of stress. But remember, everyone’s ready to assist you in this situation—you’re not alone. As you deal with this setback, bear in mind the importance of acting promptly and providing accurate information. This step sets the trajectory for the swift replacement of your passport and safeguards your personal information.
Next, we’ll move on to the specifics of replacing your lost passport. Until you receive a new one, there are precautionary measures you can take in the meantime. Stay tuned for the upcoming steps.
Step 2: Gather Required Documents
After you’ve reported your lost passport, the next big move is gathering all the necessary documents for its replacement. These documents serve as your verification identity, ensuring your application is legitimate.
Time is of the essence here, which makes it crucial to know exactly what you require. As the second step towards replacing your passport, you’d need the following documents:
- Proof of US Citizenship: This could be your original Birth Certificate, Certificate of Naturalization, Certificate of Citizenship, or a Consular Report of Birth Abroad.
- Proof of Identity: Here, you can provide a current, valid Driver’s License, Military ID, or any government-issued ID.
- Passport Photos: Two identical, new photos that meet passport photograph requirements are necessary here.
Based on the specific circumstances, there might be additional requirements. Suppose you’re replacing a passport for a minor under 16 – the documents required would differ. Understand that in such special cases, the document requirement could change and you should uncover what’s necessary.
A helpful tip to follow through this process is to keep all documents well-organized. Having documents scattered around can slow down your application process which is certainly not what you need in a situation like this. Ensure that all photocopies are clearly visible and in good condition.
Creating a checklist of all the required documents might seem like an unnecessary hassle but it’s actually a lifesaver. It allows for a systematic approach in gathering the necessary records, and guarantees that you won’t forget an essential document.
By preparing proper documentation ahead of time, you’re already a step closer to obtaining that new passport and getting back on track. Your journey isn’t over yet. In the next section, we move on to filling out the application form. Remember, accuracy and attention to detail here can save you a considerable amount of time and stress.
Step 3: Contact Your Embassy or Consulate

Continuing in your quest to replace a lost passport, the third step is making contact with a pertinent diplomatic representation. This could either be the US embassy or consulate, depending on which one is available or nearest to you. It’s critical to report your lost passport as quickly as possible. Not only does this step ensure your personal information’s safety, it also triggers a series of crucial steps towards passport replacement.
After all, timely reporting diminishes your likelihood of falling victim to identity theft or other incidences of fraud. This is particularly relevant if you’re currently traveling abroad, as swift action helps to mitigate potential problems down the line.
With that in mind, you should first locate your nearest embassy or consulate. This information is easily available on the U.S. Department of State’s website, where a comprehensive, sortable list of all U.S. Embassies, Consulates, and Diplomatic Missions worldwide is provided.
After locating your nearest representation, contact them directly. Here, you’re expected to provide some personal details and share the circumstances of the loss. Ensure you’re as transparent and detailed as possible, as this bolsters the speed of the replacement process. While this call can be tense, remember, they’re well-equipped to help you in such situations.
Next comes documentation. You’ll need to provide:
- Proof of identity (such as a driver’s license)
- Proof of US citizenship
- A recent photograph
- The police report, if available
Have these documents at hand and be prepared to pay any required fees. Also, note, that this is not a one-size-fits-all scenario. Depending on the nature and gravity of your circumstances, the embassy or consulate may dictate additional actions or document requirements. Your duty is to follow these stipulations to the letter, taking care not to skip any steps.
The bureaucratic wheels are now in motion. However, remember, in some instances, you might be provided with a temporary passport first. This allows you to resume your travels while waiting for your new, permanent passport. After this step, we’ll be delving into the application form’s nuances and sharing advice on correctly and efficiently filling it out.
Step 4: Complete the Application Form
Once you’ve contacted your embassy or consulate, it’s time to start filling out the application form. It’s an integral part of the process – so, make sure to be thorough and accurate.
There are a few crucial components that you’ll need to include in your application:
- Your Personal Information
- Passport Photo
- Circumstances of Loss
Your Personal Information
The accuracy of your personal details is critical. This includes your full name, date of birth, social security number, and contact details. Remember, this information has to match your identification and previous passport records. Any discrepancies could delay the process.
Passport Photo
You’ll need to provide a recent photo. Check your embassy’s website for specifics on size and regulations. Standard US requirements often ask for a 2×2-inch color photo taken within the last six months.
Circumstances of Loss
Explain, in detail, how your passport got lost or stolen. This info is not just a formality but it can expedite the process if your passport was stolen.
While filling in the application form, keep in mind the non-refundable fees involved. The amount typically depends on the country of application and the processing time required.
Note: Refer to your embassy’s website or contact them directly for accurate information on these fees.
Filling out the application form for a replacement is indeed a vital step to regaining your travel document. Approaching it meticulously will ensure fewer hitches along the way. After completion, you’re onto the next step: submitting your application.
Step 5: Get Passport Photos
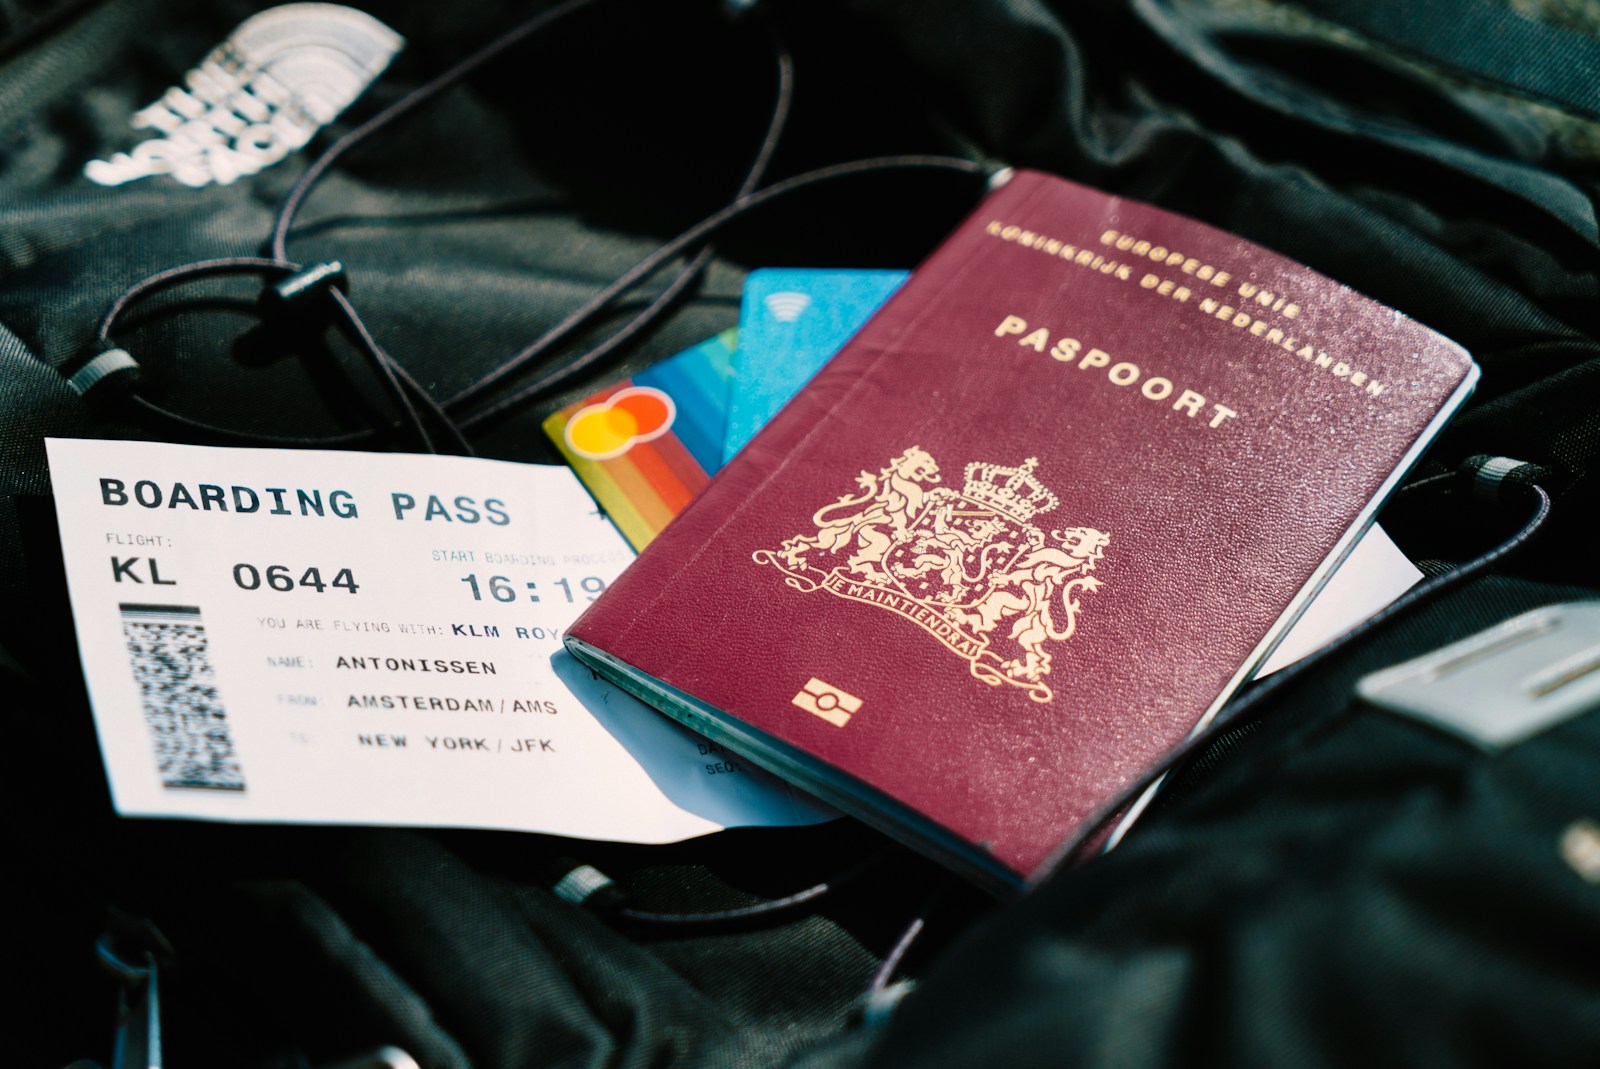
Next on your journey to reclaim your lost passport is obtaining your passport photos. This step is essential as it verifies your identity and must meet specific criteria established by the passport issuing authorities.
You should be asking yourself, “Where can I get passport photos?” You’ve got several options available:
- Professional photo service providers: Many businesses specialize in providing passport photos that meet all the necessary requirements.
- Drugstores and supermarkets: Many of these establishments offer convenient photo services.
- DIY: With the right tools and a good understanding of the requirements, it’s possible to take your passport photos at home.
While the first two options might be easier, the DIY route allows for control over the result. Whichever method you choose, make sure that your photo complies with your local embassy’s guidelines. They are stringent about their requirements to ensure the security of your document, including specifications for size, composition, color, and expression.
With regards to cost, refer to the table below for some idea of what you might typically spend:
| Service Type | Average Cost |
|---|---|
| Professional | $15 – $40 |
| Drugstore | $10 – $25 |
| DIY | Minimal |
The emphasis here is on quality, not cost. The authorities will reject photos that don’t meet their guidelines without hesitation. If you’re considering the DIY option, be sure to understand the regulations or you’ll risk causing a delay in the processing of your application.
After successfully taking your passport photo, you’re ready to proceed to the next step. Stay tuned for “Step 6: Submit Your Application” where you’ll learn about the submission process from where to submit your application to how long it will take your new passport to arrive. There’s more to learn as you continue your journey to replace your lost passport.
Step 6: Make an Appointment
After you’ve successfully obtained your passport photos, the next step involves making an appointment. It’s highly recommended that you do this in a timely manner to avoid any unnecessary delays.
Why do you need an appointment? An appointment gives you access to the personnel at your local embassy or consulate who are best able to help you through the process of replacing your lost passport.
Let’s go through how to make an appointment.
You can either book your appointment online or over the phone depending upon the rules and availability at the embassy or consulate. If you are not sure about your country’s embassy or consulate rules, check their respective websites for accurate information. Alternatively, you can directly call them.
Be sure to choose a suitable time and date for your visit. Remember, you also have to consider the processing times which can vary depending on the backlog at the embassy or consulate.
To save on time, prepare all necessary documents beforehand. This will not only make your appointment go smoothly, but it will also speed up the passport replacement process. Some of the documents you may need include:
- Proof of identity (like your driving license or any other photo identification)
- Proof of citizenship (such as a copy of your birth certificate)
- Passport-sized photographs adhering to the specified guidelines
Lastly, if you’re staying in a country where you do not speak the local language, consider bringing a translator with you to the appointment.
Step 7: Pay the Fees
While striving to replace your lost passport, getting to know what it’ll cost you is just as important as every other step involved in this process. As a crucial part of your passport replacement journey, paying the relevant fees could range from a standard application fee to additional charges that hinge on how fast you need your passport processed and delivered.
The exact fee you must pay depends on your specific circumstances. For a typical lost passport replacement, you’ll be required to pay the normal application fee. However, if you request expedited service, an additional fee is involved. Additionally, if you’d prefer delivery by overnight express mail, your total cost will incorporate an express mail fee too. Keep in mind that all these costs are necessary for the replacement process to move smoothly.
When preparing to pay the fees, remember they must be paid upfront and aren’t refundable, regardless of the application’s outcome. The mode of payment depends on the embassy or consulate; different embassies accept different forms of payment. Check the embassy’s website or contact them for specific payment information. Common payment methods include money orders, personal checks, and debit or credit cards. Cash might not always be accepted.
Below is a breakdown of the standard fees associated with passport services:
| Service | Standard Fee | Expedite Fee | Express Mail Fee |
|---|---|---|---|
| New Passport | $110 | $60 | $16.48 |
| Lost Passport Replacement | $110 | $60 | $16.48 |
| Minor Passport | $80 | $60 | $16.48 |
As you proceed to the next step in replacing your lost passport, not forgetting fees and charges is fundamentally vital. This will ensure you are not caught off guard and can financially prepare adequately. A clear understanding of the costs involved will also help you in understanding what you’re paying for and why it’s important.
Step 8: Submit the Application
Finally, it’s time to submit your application. After ensuring that all your documents are in order and you’ve paid the necessary fees, the next phase of passport replacement is to formally submit your application.
Take a moment to double-check everything. It’s crucial to make sure that all the information you’ve provided is correct and accurate. Any inaccuracies or omitted details could delay the replacement process or even lead to a refusal.
Your application, along with your supporting documents, should be presented in person at the embassy or consulate office. In some cases, it may also be possible to mail in your application, but this depends on the particular policies of the embassy. Before making a decision on this, it’s best to contact your local embassy for clarification.
During the submission process, if you’ve requested expedited service, make sure your request is clearly indicated in your application. Also, be ready to surrender your damaged passport if you have one, as it will not be possible to hold onto both your old and new passports simultaneously.
Keep in mind that not all embassies or consulates process applications on-site. Some will have to send your application to a centralized processing location, which could extend the processing time. So, despite being a seemingly straightforward procedure, this phase of the passport replacement process holds a lot of weight. Every detail matters, and careful consideration should be given to each part of the process.
Once you’ve handed over your application, all there’s left to do is to wait patiently. Remember, each step brings you closer to replacing your lost passport.
Step 9: Follow Up on Your Application
Once you’ve successfully submitted your application and all the necessary documents, don’t rest on your laurels. Whether you’ve mailed it in or submitted it in person, it’s vital that you track the progress of your application.
Often, embassies and consulates provide a way for you to check the status of your passport application online. Look for this service on their official websites. If no such option is available, it’s wise to touch base with the consulate or embassy by phone or email. Here, timely follow-ups are key. Regular check-ins help ensure that any potential issues with your application are flagged and addressed promptly.
Remember, processing times can vary widely depending on the embassy or the time of year. Typically, standard service can range from 4-6 weeks, while expedited service may take approximately 2-3 weeks. However, these are general guidelines and the actual processing time in your case might differ.
As a part of tracking, you will also want to make sure that your application isn’t just being received but is also being processed. It’s fundamentally important as the lack of activity might indicate a potential issue such as misplaced documents or insufficient information.
It’s no secret that navigating bureaucratic processes can sometimes be overwhelming, complicated, and simply frustrating. But the key here is patience. There will be questions, there might be delays, and there could even be discrepancies. However, quick self-action, proactive follow-up, and a good dose of patience can make this journey much smoother.
Let’s summarize the above points for clarity:
- Track the progress of your application through an online system, phone, or email.
- Make regular check-ins with the embassy or consulate.
- Be aware that standard service typically takes 4-6 weeks, but can vary.
- Check particularly if there’s activity on your application, indicating it’s being processed.
- Lastly, employ patience and stay proactive during the waiting period.
The objective is to have your lost passport replaced as quickly as possible without unnecessary hurdles. Keep these points in mind as you tread this path and soon you’ll be ready for the important step number 10.
Step 10: Receive Your Replacement Passport
After ruffling through a fair share of bureaucracy, you should be nearing the end of your passport replacement journey. By now, all the complexities of stages one through nine should be behind you. A final phone call or email check might reveal that your lost passport is officially a thing of the past.
The joy of finally receiving your replacement passport cannot be understated. With the replacement in your hand, you are once again ready to brave the vast world of international travel. But before you let the excitement overtake you, let’s take a moment to understand the procedure around receiving your replacement passport.
Your replacement passport can arrive in a couple of ways, depending on your location and the method agreed upon when submitting your application.
- A courier service often delivers your passport directly to your home address. You might need to sign for it, so do coordinate with them to ensure someone is present.
- Alternatively, you might have to pick up the passport directly from the embassy or consulate. This rule applies especially if you’re in a foreign country or involved in a passport emergency situation.
A crucial thing to remember: the replacement passport might not come with your original documents. In most cases, these are sent separately to avoid losing valuable information or personal items.
It can take two weeks to several months for all your documents to arrive. This timeline depends on the country, your location, and consulate procedures. Keep an eye out and inform the authorities immediately if you suspect something is amiss.
Remember, receiving the replacement passport means you’re almost at the finish line, but there might still be some loose ends to tie up. The prerequisites don’t end here. There’s yet one more step to consider once you have your replacement passport in your hands. Stay patient, and you’ll soon be back exploring the globe, one foreign land at a time.
Step 11: Take Steps to Prevent Future Loss

After you’ve received your replacement passport, your immediate crisis is resolved. Now, it’s crucial to consider implementing measures to prevent a repeat of such a stressful event.
One of your top priorities should be to safeguard your passport physically. Storing your passport in a safe, secure location is fundamental. Make sure you’re keeping it in a lockable compartment, where it’s not susceptible to theft or accidental loss.
Next, consider taking digital measures to offer you an extra layer of protection. Scan or take a clear picture of your passport, both the photo page and any essential visa stamps. Keep these in a secure digital storage area that you can access from anywhere. It helps create a backup plan if you find yourself in a similar situation again.
Another essential step you can take is to keep a record of your passport number and the customer service hotline of the embassy or consulate. It’s information that can quicken the process of cancellation and replacement in case of a loss.
Opt for travel insurance that covers lost passports. Often underestimated, travel insurance can be a lifesaver in situations like these – providing emergency assistance and covering the significant costs attached to fast-track replacement procedures.
Here are the steps in a nutshell:
– Safe physical storage
– Digital backup
– Record critical info
– Travel Insurance
You’ve effectively navigated through the maze of passport replacement – it’s a testament to your resourcefulness and resilience. By staying vigilant and proactive about your passport’s safety, you’re minimizing the likelihood of facing this predicament in the future.
Conclusion
Losing your passport doesn’t have to be a nightmare. With these 11 steps, you’re well-equipped to navigate this stressful situation. Remember, it’s not just about replacing your lost passport but also taking preventive measures for the future. Safeguarding your passport and having a digital backup are key. Don’t forget to keep a record of your passport number and the embassy’s hotline. It’s also wise to have travel insurance that covers lost passports. Staying vigilant can save you a lot of hassle down the line. With these strategies in place, you’ll be prepared for any passport-related issues that may come your way.
Frequently Asked Questions
What is the eleventh step in replacing a lost passport?
The eleventh step in replacing a lost passport is taking preventive measures to avoid future losses. This involves storing your passport securely and creating a digital backup.
Why is it essential to safeguard your passport?
Safeguarding your passport physically can save you from the trouble of it getting lost or stolen. Keep it in a secure location and have a digital backup just to be on the safe side.
Why should you keep a record of your passport number and the embassy’s contact?
If your passport gets lost or stolen, having your passport number and the embassy’s customer service hotline can expedite the process of getting a replacement or seeking assistance.
Is travel insurance helpful for lost passports?
Yes, some travel insurance plans cover lost passports. It’s advisable to check your policy details or consult with your insurance provider ahead of time.
How can you minimize the risk of losing your passport?
Being vigilant and proactive about passport safety is the key. Securely storing your passport, maintaining digital and physical copies, and having the necessary contact details on hand can significantly minimize potential loss.
Is there any preventive measure recommended in the article against future passport loss?
Yes, primarily it recommends creating digital backups of your passport and storing it securely to prevent any future loss. It also advocates keeping a record of your passport number and the embassy’s contact and obtaining travel insurance that can cover lost passports.
