So you’ve tied the knot and changed your name, but what about your passport? It’s a common oversight, but it’s crucial to ensure your passport reflects your new marital status and name. After all, you don’t want any hiccups on your honeymoon or any future travels.
Why is it important to update your passport after marriage?
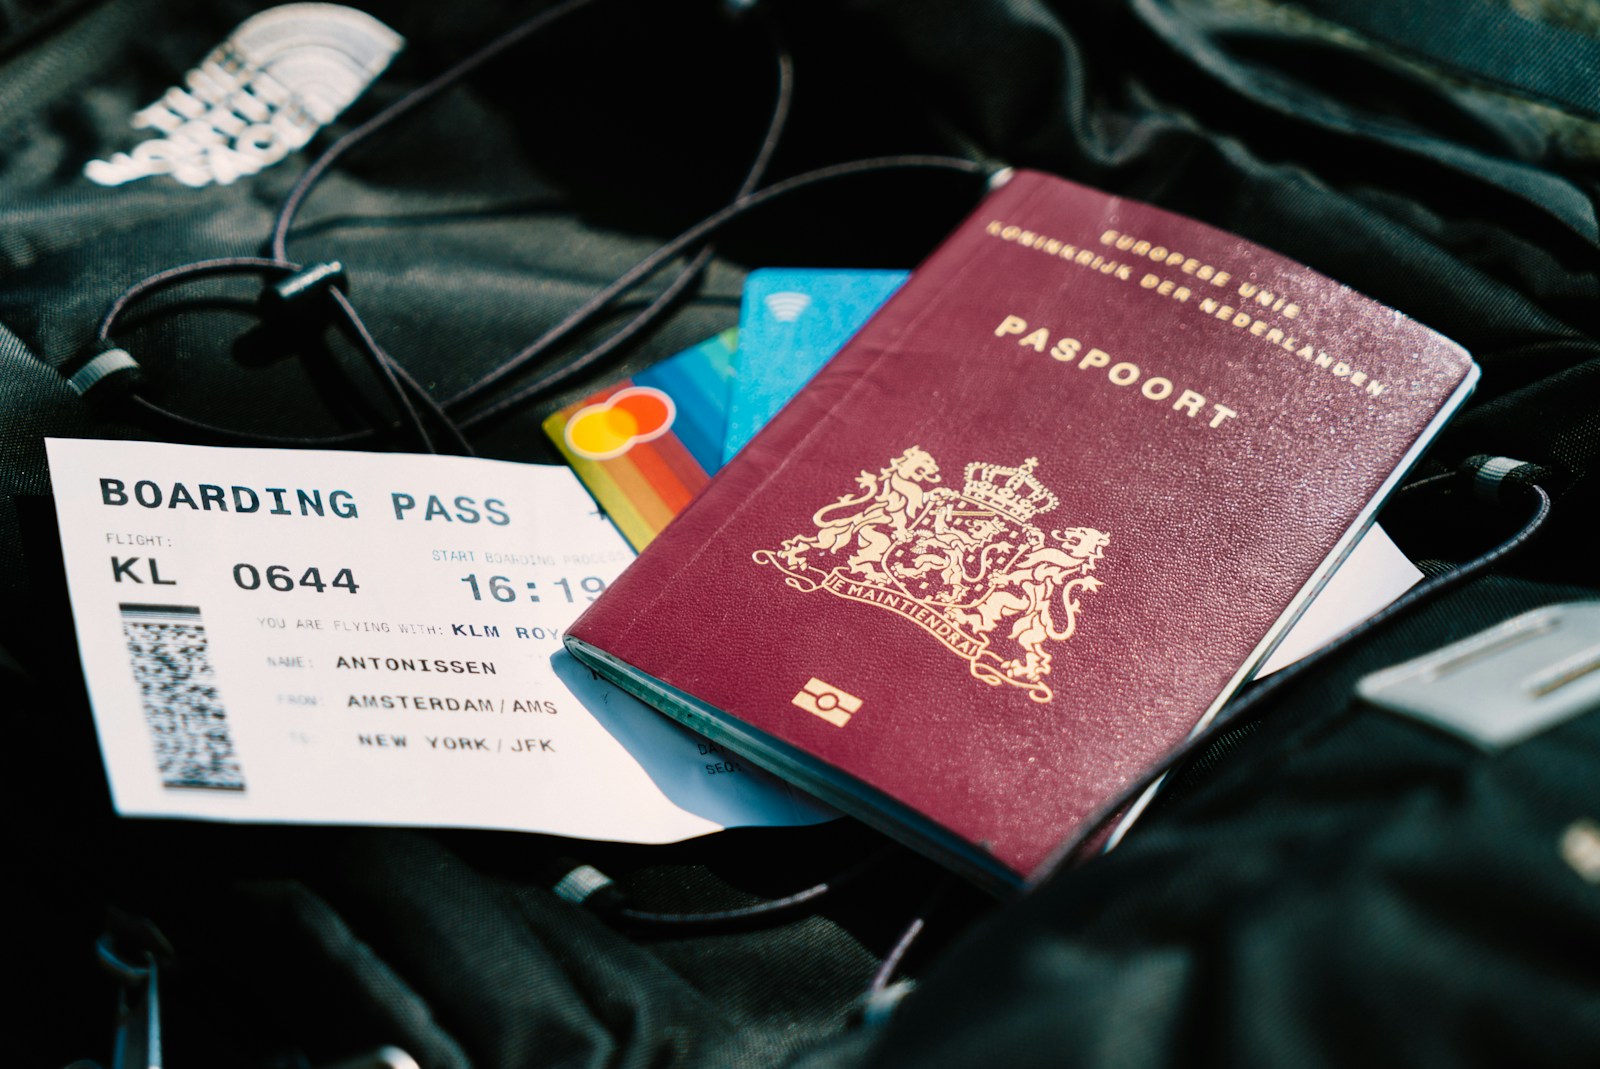
Consider this: you’re excited about your honeymoon trip. Your bags are packed and you’re ready to go. But when you reach the airport, you encounter a big problem—your passport does not reflect your new marital status or name. This is why it’s vital to update your passport after marriage.
One of the main reasons is legal consistency. Various legal documents—driver’s license, social security, insurance policies—all need to show your new marital status and last name. Having your passport match the rest of these documents is essential. This helps to eliminate unnecessary confusion and potential legal issues in the case of emergent situations while traveling.
Another reason pertains to the local conditions of the countries you may visit. Some destinations have stringent rules about documentation. Not having the correct name could lead to being denied entry, or even worse, being detained.
The issue of making flight reservations is another reason for ensuring your passport is updated. Flight tickets should match the name on your passport. If they don’t, you might have issues at security checks which could lead to you missing your flight.
Lastly, considering the processing time for the passport update, you don’t want to postpone this task. It’s not unusual for the process to take several weeks, and sometimes months, especially during peak application periods.
Here’s a quick comparison of the potential troublesome scenarios you could avoid simply by updating your passport details:
| Potential Scenarios | Outcomes With Updated Passport | Outcomes Without Updated Passport |
|---|---|---|
| Legal Document Check | Smooth process | Possible delays and complications |
| Entry to Foreign Destinations | Smooth process | Could be denied entry or detained |
| Making Flight Reservations | No issues with security checks | Possible security check issues |
| Processing Time | Prepared well in advance | Could postpone your travel plans |
Step 1: Research passport requirements for name change
You’re starting on a crucial task, an essential part in ensuring smooth sailing for your upcoming travels as a married person. The first step? Understanding the passport name change requirements.
Different countries have distinctive regulations and procedures for passport name changes. Sometimes, people don’t realize the requirements until they’re deep into the process, leading to delays and frustrations. It’s essential to begin this journey with a thorough understanding of what you’re getting into.
You’ll generally need to provide marriage documents to prove the name change. A marriage certificate is usually the document of choice, but check with your local passport authority to be sure. It’s worth mentioning that this document should be original or a certified copy. Photocopies may not be accepted.
Another aspect to consider is that some countries require your passport to be valid for six months beyond your period of stay. Meaning, if you’re planning a trip, you’ll need to consider not only the time it takes to process the name change but also its current expiry date.
Here’s a snapshot of what you need to consider:
- Passport authority’s specific requirements
- Document requirements – your marriage document needs to meet them
- Processing times
- Traveling constraints
Take some time to explore the website of your national passport agency, look for their name change requirement checklist, download all necessary forms, and start filling them out. Keeping track of all the required steps and documents in this process will make it go smoother.
Step 2: Gather necessary documents
As your document preparation journey begins, it’s pivotal to ensure you’ve all the necessary paperwork. Different countries have varied rules regarding the documents required for a passport update. Typically, nearly all countries demand that you provide proof of your marriage. This would often be your marriage certificate. Make sure it’s the original document or a government-certified copy. A photocopy won’t cut it.
To help you avoid any potential obstacles in this process, we’ll break down some of the documents you might need.
- Passport Application Form: You’ll have to fill an application form, which is usually available on national passport agencies’ websites. Read the instructions carefully before you start filling it out.
- Current Passport: Your existing passport is an essential document. If your passport is expired, some countries require its renewal before updating the name.
- Proof of Name Change: This is typically your marriage certificate. Ensure it’s a government-certified copy.
- Passport Photos: You may need to provide a new set of passport photos. Follow the guidelines given regarding size, background color, the attire to wear, and other specific details.
Be mindful that these are generalized requirements. The actual documents you may need will likely depend on the laws of your specific country. For instance, in the U.S., the Department of State has a detailed checklist of the supporting documents for a name change on their website. Take some time perusing the information to not miss out on any crucial details.
While gathering your documents, also check your passport’s expiration date. Remember, some countries require that your passport have at least six months’ validity beyond your period of stay. If your passport will expire within this period, you will need to renew your passport before you can change your name on it.
Stay tuned for “Step 3: Submit your application” to help guide you through the final stages of this process. We’ll keep you informed about the best practices for submitting your application and what you can do to increase its chances of acceptance.
Step 3: Complete the passport application form
After gathering all the essential documents, it’s time to tackle the next crucial step – completing your passport application form. This form, known as DS-11 in the United States, serves as your formal request for a passport update.
Pay attention to detail as you work through this form. Ensure you’re reading every instruction carefully and answering each question with accuracy. Don’t rush through the process; hasty errors could lead to a delay or even a denial of your requested update.
The DS-11 form is sectioned into multiple parts. Each part requires a specific type of information. For instance:
- Personal Information: This includes your legal name, date of birth, place of birth, gender, social security number, and marital status. Since you’re updating your passport after marriage, indicate your new name here.
- Mailing Address and Contact Information: Accurate contact information ensures that your new passport and correspondence from the passport agency reach you.
Let’s not forget about the fees involved. Depending on your country, there’s likely a fee for the application process, not to mention a separate one if you opt for expedited service. Fees should be paid either by check or money order, made payable as directed on the form.
Step 4: Take passport photos
Now that your paperwork is in order, your next task is to take passport photos. Picture this: Your passport photo will be a record of you for the next ten years. It’s not a selfie or photo booth snapshot so it’s crucial to pay attention to detail.
Most nations – the US included – have stringent guidelines for passport photos. Strict adherence to these rules is critical or your passport application could risk rejection.
To start with, make sure you’re familiar with your country’s specific requirements. They will usually entail things like size specifications, background color, head size, and position. In the US, your passport photo should be neatly colored with your head centered in the frame. It should measure exactly 2×2 inches in size, and your head should take up 70%-80% of the photo.
Essential parameters to remember when taking passport photos include:
- Plain white or off-white background
- Full face view, directly facing the camera
- No eyeglasses, unless you require them for medical reasons
- Neutral facial expression or a natural smile with eyes open
- No hats or head coverings
In addition, your photo should be recent, showing your current appearance, with no alterations or filters applied.
While it’s feasible to take your passport photo at home, using a smartphone or digital camera, we recommend using a professional service. This ensures the photo adheres to the precise requirements and saves you the trouble of doing it all over again in case of rejections. Many companies specialize in this service, offering reasonably-priced packages that comprise all the requirements you need to meet.
When you’ve got your photos in hand, attach one to your DS-11 Form. Use glue, as staples are not acceptable: they could damage the photo. Check again to ensure all the information in your DS-11 Form, including the attached photo, adheres strictly to regulations. Ensuring everything is in order keeps you on the right track, and furthers your attempt to update your passport smoothly.
Onto the next step… Making that all-important appointment to finalize your application.
Step 5: Pay the passport update fee
Now that you’ve carefully filled out your DS-11 form and attached your professional passport photo, it’s time to focus on the payment aspect of this process. This stage is crucial as your application won’t be processed without the correct payment. Depending on the place you reside, the passport update fee will vary. Regardless, it must be paid for the application to be considered.
Most countries offer different methods of payment. You may choose to pay by credit card, money orders, or even through electronic bank transfers. It’s advisable to double-check what payment methods your local issuing office accepts to avoid any hitches.
For United States citizens, the Department of State has a standard fee for passport book renewal, which currently stands at $110. In case you’ve opted for expedited service, an additional fee of $60 applies. Here’s a simple breakdown of the cost:
| Service Type | Fee |
|---|---|
| Passport Book (Renewal) | $110 |
| Passport Card | $30 |
| Expedited Service (Optional) | $60 |
Make sure to double-check all fees on the official department of state’s website before proceeding to avoid any surprises.
When you’ve confirmed the total amount, go ahead and make the payment. Keep in mind different service points might accept different forms of payment. For instance, the Post Office might only accept checks or money orders while a Department of State office could accept cards.
Your next step after the successful payment of the required fee will be to bring all your documents together. These should include your DS-11 form, existing passport, marriage certificate, passport photos, and proof of payment. Once everything is ready, it’s time to make an appointment to finalize your passport application.
Step 6: Submit your application and documents
Time to synthesize and present all your hard work. Organizing and bundling your documents is of utmost importance. Using a paper clip or envelope can secure everything in one place. Remember to include the completed DS-11 Form, marriage certificate, current passport, new passport photos, and the receipt confirming the payment of the update fee. Losing any essential document at this stage could set you back significantly.
Now that your documents are in order, it’s time to Submit Your Application. You’ve got several options at this stage:
- Post Office: Many post offices offer passport services and are ideal for submitting your package.
- Passport Agencies or Centers: Recommended if you’re traveling in less than two weeks or if you need your passport for foreign visas in four weeks. Do note that appointments are required for these agencies.
- Authorized Passport Application Acceptance Facilities: Including many public libraries, clerks of court, or other local government offices.
Use the State Department’s online search tool to find the most convenient location for you.
The method of submission varies depending on where you’re sending it. If mailing, use a trackable delivery method. If submitting in person, ensure it’s a scheduled appointment. You may also need to present additional identification here.
Moving onto the next phase, will revolve around the waiting game. Make sure to take note of the receipt number and follow the instructions related to tracking your application. Remember this is a procedure that requires patience, getting upset or excessively anxious won’t speed up the process. Be assured that as long as you’ve followed the instructions, you’re well on your way to receiving your newly updated passport.
Stay tuned for the final step – receiving your new passport. This segment will involve tips and strategies to expedite the receiving process, ensuring when that time comes, you’re fully equipped and ready.
Step 7: Track your passport update status
After successfully submitting your application and necessary documents, the wait begins. It’s essential to track your passport update status diligently. You might be eager to know when you’ll receive your updated passport, especially if you’ve got travel plans on the horizon.
Your country’s passport service will likely have an online tracking system. In the US for instance, the Department of State provides a passport application status tracker. Using the tracker is straightforward. You’ll need to provide certain information, usually your last name, date of birth, and the last four digits of your social security number.
Once you’ve inputted the required details, you’ll have access to real-time status updates. The displayed statuses usually range from ‘Not Found,’ ‘In Progress,’ to ‘Complete.’ ‘Not Found’ implies your application is yet to enter the system. ‘In Progress’ means your application is undergoing processing, and ‘Complete’ signifies that your updated passport is ready and mailed.
However, expect delays before your status updates from ‘Not Found’ to ‘In Progress.’ It typically takes about a week for your submitted application to show up in the system. But remember, these timeframes can fluctuate, especially during peak travel periods.
Keeping a close eye on your update status not only keeps you aware of the progress but also alerts you to any potential issues. In case the status shows ‘Incomplete’ for an extended period, it could mean there’s a problem with your application. To remedy this, you should promptly contact the passport service via their customer service number or email.
Aside from the online tracking system, some services offer email notifications for status updates. This service is quite handy. You’ll receive automatic notifications right in your inbox whenever there’s a change in your application status.
You need to be patient and meticulous during this period. It’s worth mentioning that the total processing time can take anywhere from 6-8 weeks, but it’s reliant on the specific passport update service you’ve chosen. We’ll delve deeper into methods to speed up this process in the forthcoming segments of this article.
Conclusion
Navigating the process of updating your passport after marriage can seem daunting but it’s a manageable task when broken down into these seven essential steps. From gathering your documents to tracking your application status, you’ve got the tools you need to ensure a smooth transition. Don’t forget to utilize the online tracking system and stay proactive in contacting the passport service if any issues arise. Remember, you also have the option of receiving email notifications for status updates. As you move forward, the next segment of this series will guide you through tips and strategies to expedite the receiving process of your new passport. Armed with this knowledge, you’re well equipped to embark on this journey.
Frequently Asked Questions
Does the article discuss how to update your passport after marriage?
Yes, the article provides a comprehensive guide on how to update your passport after marriage. It details what documents are needed, how to fill out the application, and the associated fees.
What does the article say about tracking your passport update status?
The article suggests using the online tracking system provided by your country’s passport service. If you encounter problems, you should contact the passport service directly.
What kind of issues should I contact the passport service about?
If there are problems with your application or if you’ve noticed an extended delay in your status updates, you should contact the passport service.
Does the article mention receiving email notifications for passport status updates?
Yes, the article suggests enabling email notifications, if your country’s passport service offers such a feature, to stay updated on the status of your application.
Will the article discuss how to expedite the receipt of my new passport?
Yes, in its subsequent segment, the article will provide tips and strategies for receiving your updated passport more expediently.